
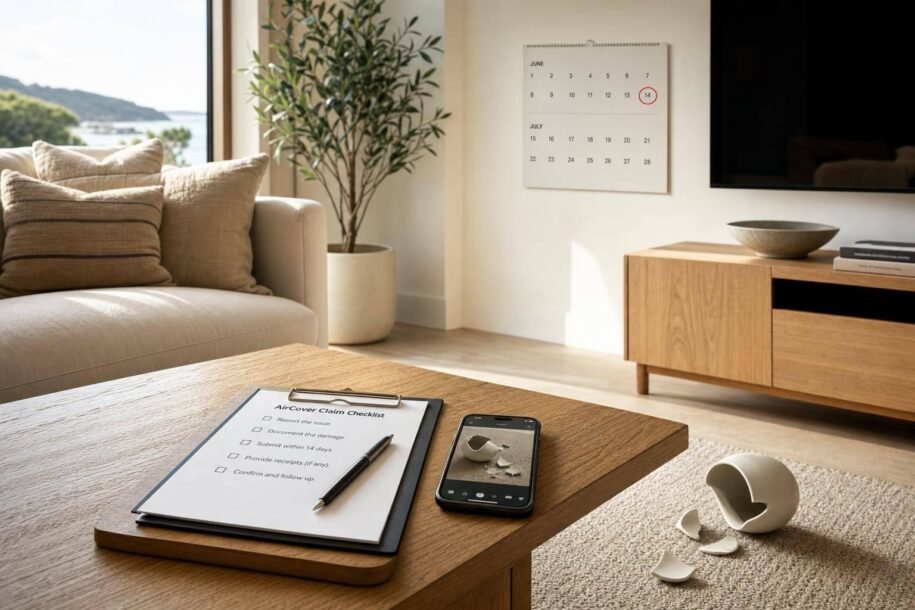
Miss the deadline, and your AirCover claim can fall apart. If I want the best shot at getting paid, I need to inspect the property right after checkout, file within 14 days or before the next guest arrives, and send any added proof Airbnb asks for within 30 days.
Here’s the short version:
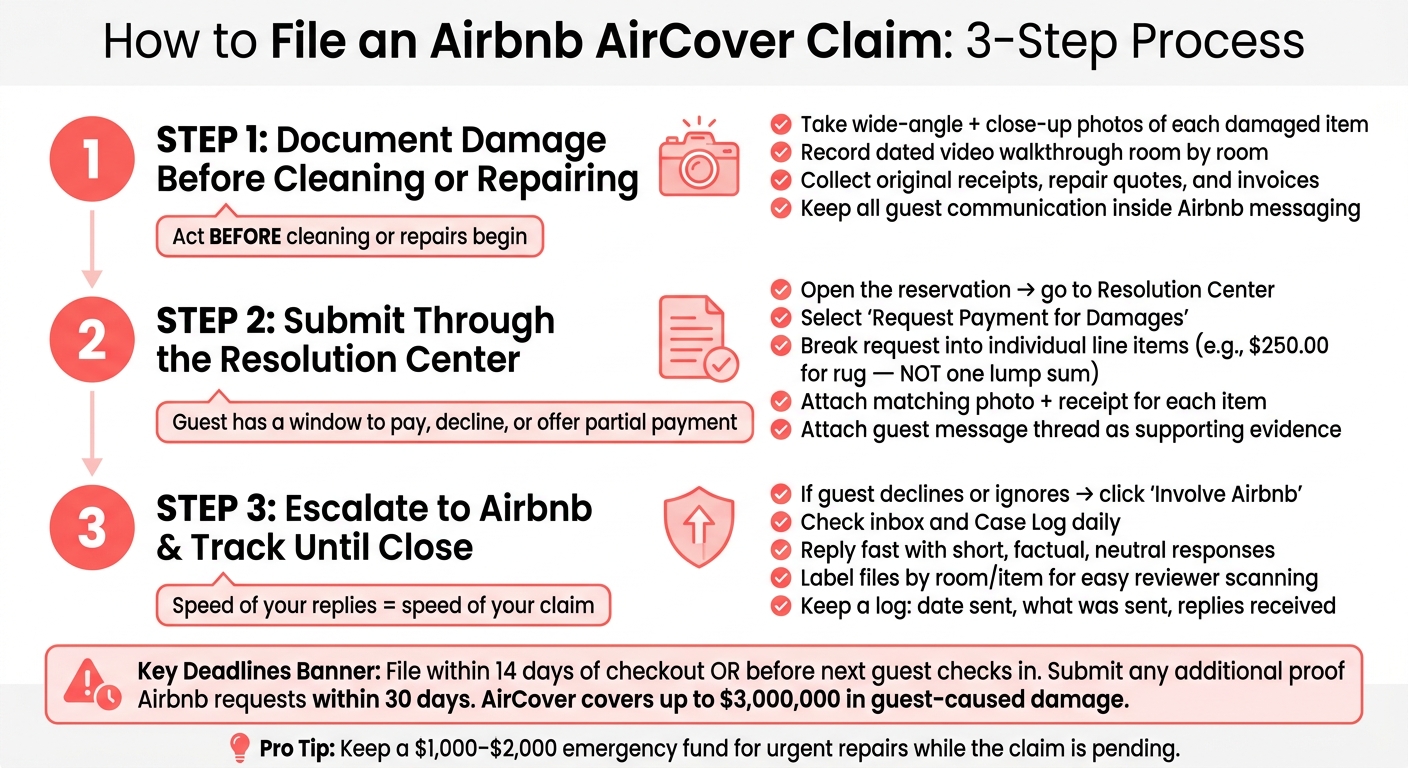
- AirCover for Hosts covers guest-caused damage during Airbnb stays, up to $3,000,000.
- It does not cover wear and tear, basic cleaning not tied to damage, or some high-value items.
- I should take photos and video before cleaning or repairs.
- I should save receipts, quotes, invoices, and guest messages.
- I need to file through the Resolution Center and list each damaged item one by one.
- If the guest ignores or rejects the request, I should click Involve Airbnb.
- After that, I need to watch my inbox and case log daily and reply fast.
- It helps to keep $1,000 to $2,000 set aside for urgent fixes while the case is still open.
This process is not hard, but it is strict. If I stay organized, keep all records in Airbnb, and act right away, the claim is much easier to move from damage report to case close.
Airbnb AirCover Claim Process: 3 Steps to Get Paid
File Your Airbnb Aircover Claim This Way or Get Denied!
sbb-itb-103bddb
Step 1: Document Damage Before Cleaning or Repairing Anything
Use the walkthrough to record the damage before anything changes.
Take Wide Photos, Close-Ups, and Video of Each Issue
Go room by room. For each problem, take a wide-angle shot to show where it is and a close-up to show how bad it is. If photos don’t tell the full story, record a short video in one take and talk through what you’re seeing.
Make sure your photos and video are dated so it’s clear when you documented the damage. If you have before-and-after images, include those too. They help show the change in condition.
These images are the proof you’ll attach when you submit the payment request.
Collect Guest Messages, Receipts, and Repair Quotes
A strong claim usually comes down to the paper trail. Pull everything together before you open the Resolution Center:
- Original receipts or purchase records for any damaged item
- Itemized repair or cleaning quotes from a contractor or other pro
- Invoices for any emergency work you already paid for out of pocket
List each item on its own. For example, submit $250.00 for a rug instead of one lump sum for everything.
Once your evidence is in order, open the reservation in the Resolution Center and file the request.
Keep All Damage Communication Inside Airbnb Messaging
Keep all damage-related communication in Airbnb messages. If you talked off-platform by phone, text, or in person, repeat those details in the Airbnb thread right away, including the date, time, and what was said.
That message thread becomes the record Airbnb checks if the claim gets escalated.
Step 2: Submit the Request Through the Resolution Center
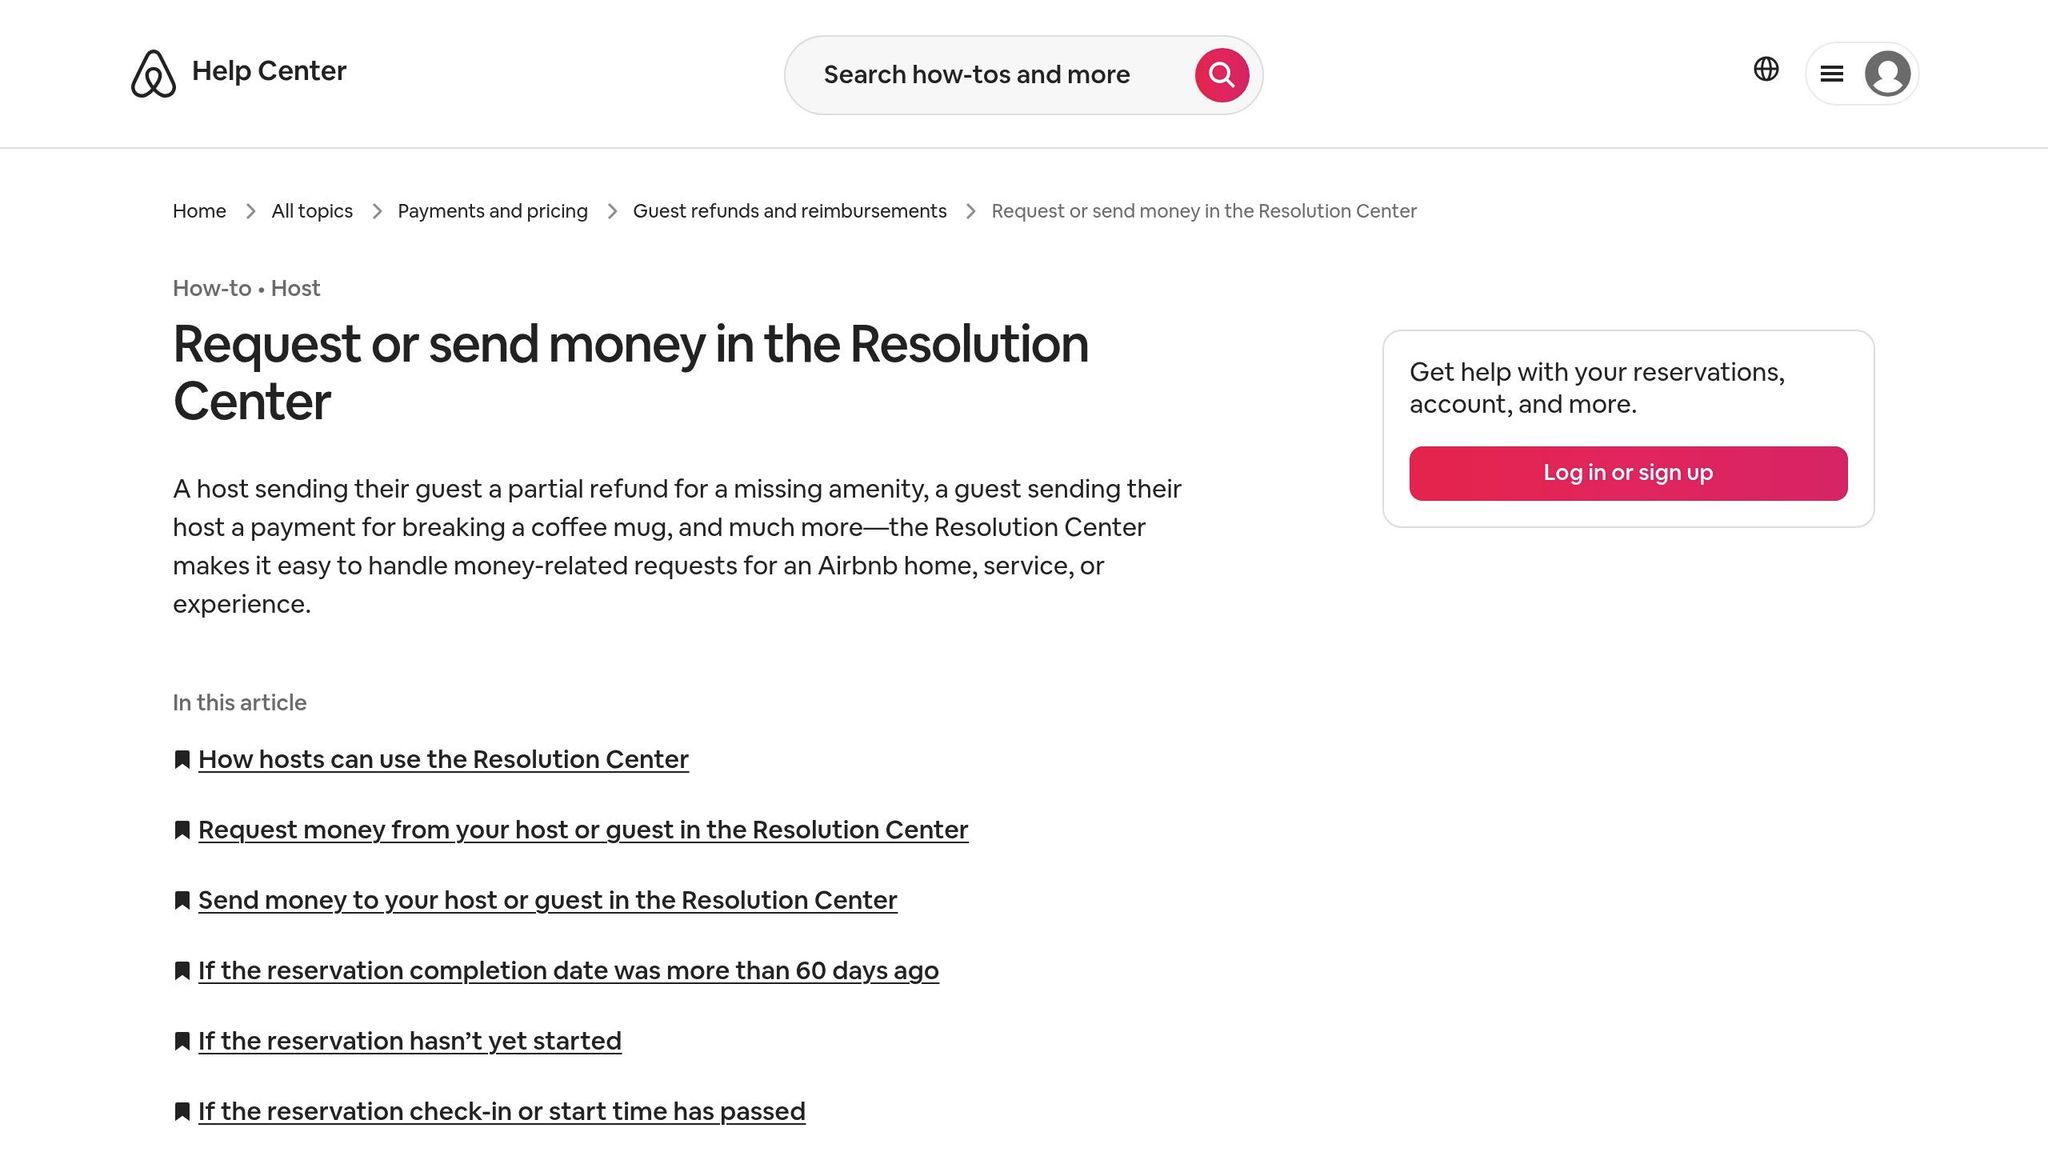
Once your photos and receipts are in order, move the damage report into Airbnb’s Resolution Center and file it as a formal payment request.
Open the Reservation and Select Request Payment for Damages
Open the reservation tied to the damaged stay. Then go to the Resolution Center from the trip details, either on desktop or in the app. Choose the option to request payment from the guest for the damage.
Break the Request Into Line Items Instead of One Total
Don’t lump everything into one big number. Split the request into separate line items so each charge is easy to follow.
For each item, include:
- a short description of the damaged item or service
- the matching photo
- the receipt, repair estimate, invoice, or service report from Step 1
Also attach the message thread that shows the guest’s response, dispute, or refusal. That way, Airbnb can see the full record in one place.
What Happens During the Response Window
The guest can pay, decline, or offer partial payment. If they don’t respond or refuse, click Involve Airbnb to escalate the case.
If the guest rejects the request or stays silent, escalate the case through Airbnb and keep tracking the file.
Step 3: Escalate to Airbnb and Track the Claim Until It Closes
Once Airbnb steps in, the job changes. At that point, it’s less about opening the claim and more about answering each request fast and cleanly.
Use ‘Involve Airbnb’ if the Guest Declines or Does Not Respond
If the guest declines your request, click Involve Airbnb in the Resolution Center. Airbnb will then look at your evidence, reservation details, and whether you met the deadline.
They may ask for more documentation, like updated contractor statements, estimates, or photos. It helps to have those ready before you escalate. That way, you can reply fast instead of scrambling for paperwork. From there, the pace of the case often comes down to how quickly you answer Airbnb’s next request.
Check Your Inbox and Case Log for Follow-Up Requests
Check your Airbnb inbox and Case Log every day. If you miss a follow-up, the case can stall or even close.
When you reply, keep it short and neutral. State the specific damage, the reservation dates, and the exact reimbursement amount you’re asking for. A plain, factual summary makes it easier for the reviewer to move the case along without confusion.
Claim Tracking Habits That Help Cases Move Faster
A little organization goes a long way here. Upload files in a clean, easy-to-scan way and send replies well before the 14-day cutoff. Filing early gives you breathing room if Airbnb asks for more.
A few habits help:
- Label each file by room or item so the reviewer can sort through it fast.
- Keep a simple log with the date, what you sent, and any reply you got.
- If you manage vacation rentals across multiple locations, have a local cleaner or handyman ready to take turnover photos and get vendor quotes fast.
Conclusion: Faster AirCover Claims Start With Better Day-to-Day Operations
Once the request is filed, speed and organization matter most. Fast claims usually come from solid turnover habits: document damage right away, respond fast, and keep every record in one place. Quick replies and clean records help keep the claim moving.
It also helps to keep a $1,000 to $2,000 emergency fund set aside for urgent repairs while the claim is still pending [1].
If you can’t keep an eye on claims in real time, outside help can stop small delays from turning into bigger problems.
When Hiring a Property Manager for Claim Support Makes Sense
Claim support tends to matter most for hosts who live more than two hours away, manage four or more properties, or don’t want late-night emergency calls [2]. DIY management usually takes 15–20+ hours per week per property once you add guest messaging, cleaning coordination, and maintenance follow-up [3].
Rank One Stays handles post-checkout inspections, turnover photos, repair coordination, and AirCover claim follow-up.
FAQs
What if I miss the AirCover filing deadline?
If you miss the AirCover filing deadline, you usually lose the right to ask for reimbursement for damages through the platform. Hitting that deadline matters if you want your claim processed.
To help you avoid missed deadlines and lost income, Rank One Stays can take care of damage claim paperwork and coordination as part of its full-service property management.
Can I file a claim after the next guest checks in?
No. In most cases, you can’t file an AirCover claim after the next guest checks in.
The best move is to document the property’s condition right after checkout and before the next arrival. Use time-stamped photos after every turnover. That gives you a clear record if you need to sort out a dispute through the Resolution Center.
What proof gives my claim the best chance of approval?
Provide clear, time-stamped records that show your property’s condition before the guest arrived and after they left.
The best proof usually includes:
- High-quality photos taken before check-in and after checkout
- Records of all guest messages
- Official invoices or repair quotes
- Notes and professional assessments